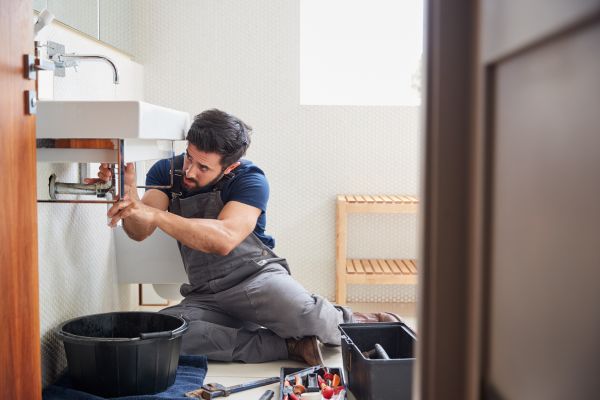
A dripping faucet is more than just a minor annoyance. That steady drip, drip, drip can waste gallons of water over time, leading to higher utility bills and environmental strain. Fortunately, learning how to fix a leaky faucet is a skill every homeowner can benefit from. Not only can you save money and water, but you’ll also gain the satisfaction of handling a common household issue with confidence.
Understanding Why Faucets Leak
Before diving into the repair process, it helps to understand why faucets start leaking in the first place. Most often, the culprit is a worn-out washer, O-ring, or cartridge. Over time, these small components degrade due to constant use and water pressure. Mineral deposits from hard water can also build up, causing parts to corrode or become less effective at sealing off the water flow. Occasionally, a leak could indicate a more serious issue like a crack in the faucet itself, but in most cases, the problem is fixable with a few basic tools and a little patience.
Preparing to Fix a Leaky Faucet
When planning how to fix a leaky faucet, preparation is key. Start by turning off the water supply to prevent any unexpected sprays or mess. The shut-off valve is usually located beneath the sink, and turning it clockwise will stop water from flowing to the faucet. Once the water is off, open the faucet to release any remaining pressure in the lines. This simple step ensures you won’t be surprised by a gush of water when you start taking things apart.
Having the right tools on hand will make the process smoother. You may need an adjustable wrench, screwdrivers, pliers, and replacement parts depending on your faucet type. It’s also a good idea to place a towel or small container in the sink to catch any small screws or parts that might fall during the repair.
Identifying Your Faucet Type
One of the most important steps in learning how to fix a leaky faucet is identifying the type of faucet you have. The repair process varies slightly for compression faucets, ball faucets, cartridge faucets, and ceramic disk faucets. Compression faucets are the traditional style with separate hot and cold handles, while the others typically have a single handle controlling both temperature and flow. Knowing your faucet type helps you determine which parts need replacing and ensures you purchase the correct components from your local hardware store.
Disassembling the Faucet
Carefully remove the handle or handles of the faucet. This often involves unscrewing a decorative cap and using a screwdriver to loosen the handle. With the handle off, you’ll gain access to the inner workings of the faucet, including the stem, cartridge, or ball assembly. Take note of how each part fits together so reassembly will be easier later. You might even take a few photos along the way as a helpful reference.
Once exposed, inspect the components for signs of wear and tear. If you see a damaged washer, O-ring, or cartridge, it’s likely the source of your leak. Gently remove these parts and prepare to replace them with new ones.
Replacing Worn Parts
Replacement is the heart of how to fix a leaky faucet effectively. Take the worn parts to the hardware store to ensure you purchase exact matches. Installing the wrong size or type of part can lead to continued leaking or even additional damage. When installing the new parts, make sure they fit snugly and align properly with the surrounding components.
Avoid over-tightening screws or nuts during reassembly, as this can strip threads or crack delicate faucet materials. Tighten just enough to hold everything securely in place without forcing it.
Reassembling and Testing Your Faucet
Once the new parts are in place, reassemble the faucet in the reverse order of disassembly. Double-check that all components are aligned properly and that nothing feels loose or out of place. Turn the water supply back on slowly to avoid a sudden surge of pressure.
With the water restored, test the faucet by turning it on and off several times. Observe carefully to see if the leak has stopped. If you still notice a drip, it may mean a part was installed incorrectly or there’s another issue at play. In such cases, reviewing each step and ensuring all connections are secure is essential.
Preventing Future Leaks
After successfully learning how to fix a leaky faucet, consider taking steps to prevent future leaks. Regularly cleaning your faucet’s aerator and handles can prevent mineral buildup that often leads to wear on internal components. When turning off your faucet, avoid using excessive force, as this can damage washers over time. Periodic inspections can help catch small issues before they turn into bigger problems.
When to Call a Professional
While many leaky faucets can be fixed with basic tools and a little effort, some situations call for professional help. If you discover a crack in the faucet body or if replacing parts doesn’t stop the leak, a plumber’s expertise may be necessary. Additionally, if your home has older plumbing or hard-to-reach shut-off valves, a professional can address these complexities safely.
Final Thoughts on Fixing a Leaky Faucet
A leaking faucet may seem like a minor inconvenience, but the wasted water and potential damage to fixtures make it worth addressing promptly. By learning how to fix a leaky faucet, you can take control of your home maintenance and avoid costly repairs down the road. With the right tools, a little patience, and attention to detail, stopping that annoying drip is entirely within your reach.

