
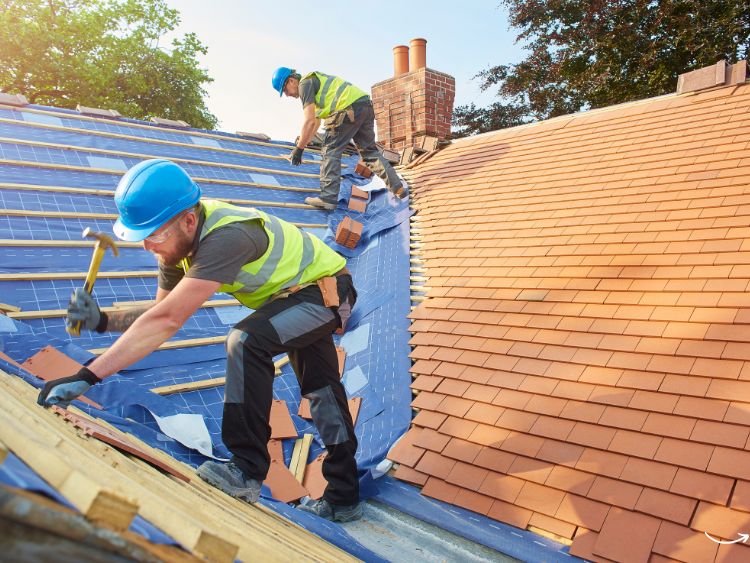
RV ownership brings a sense of freedom and adventure that’s hard to match. You can explore the breadth of the landscape without sacrificing the comforts of home. Yet, just like a traditional house, an RV requires maintenance to keep it in prime condition. One of the most crucial aspects of RV maintenance is roof repair. Keeping your RV roof in tip-top shape not only extends the life of your mobile home but also ensures your travels remain safe and dry.
When it comes to RV roof repair, it’s more than just slapping on some sealant; it’s about understanding the structure, knowing the right materials to use, and applying them correctly. Whether you’re dealing with leaks, weather damage, or wear and tear, knowing how to handle roof repairs can save you thousands in potential damages. In this article, we’ll dive deep into everything you need to know about RV roof repair, from identifying problems to fixing them like a pro. Buckle up, and let’s keep that roof over your head as sturdy as ever!
Identifying Common RV Roof Problems
Before you can fix a problem, you need to know what you’re dealing with. Here’s how to spot the most common issues:
- Leaks: Often found around roof seams, vents, and air conditioners, leaks are the most frequent issues RV owners face.
- Cracks: These can appear in sealants or the roofing material itself, particularly in areas exposed to a lot of sunlight or extreme weather conditions.
- Ponding Water: This occurs when water gathers on the roof and doesn’t drain properly, leading to potential leaks and structural damage.
- Blistering: Caused by trapped moisture under the roof membrane, blistering can lead to bigger problems if not addressed promptly.
Choosing the Right Materials for Repair
The materials you choose for RV roof repair can make or break your efforts. Here are some top recommendations:
- Sealants: Use a high-quality sealant designed for RV roofs, such as EPDM or TPO specific products.
- Patches: For larger damages, consider using a rubber or fiberglass patch along with a compatible adhesive.
- Coatings: Reflective coatings can reduce heat absorption and extend the life of your roof.
Step-by-Step Guide to Repairing Your RV Roof
Preparing the Surface
- Clean the Area: Start with a clean surface. Remove any debris, dirt, and old sealant using a suitable cleaner.
- Dry Thoroughly: Ensure the roof is completely dry before applying new materials.
Making Repairs
- Apply Sealant: For small cracks and leaks, apply sealant evenly and ensure all gaps are filled.
- Set Patches: For larger issues, place the patch over the area and press firmly, applying adhesive as directed.
- Apply Coating: If using a coating, apply it evenly across the entire roof for maximum protection.
Preventive Measures
- Regular Inspections: Check your roof regularly for signs of wear and tear.
- Clean Regularly: Keeping your roof clean can prevent many problems from developing.
- Prompt Repairs: Address damages as soon as they are noticed to prevent them from worsening.
FAQs About RV Roof Repair
- How often should I inspect my RV roof?
- Inspect your roof at least twice a year and after any severe weather events.
- What is the best sealant for an RV roof?
- The best sealant depends on your RV’s roof material but typically, products like Dicor Lap Sealant are highly recommended for most materials.
- Can I repair my RV roof myself?
- Yes, many repairs are DIY-friendly, especially if you follow the guidelines mentioned here.
- How long does a typical RV roof repair last?
- A properly executed repair can last several years, but it depends on the materials used and the quality of the application.
Summary
RV roof repair doesn’t have to be a daunting task. With the right knowledge, materials, and a bit of elbow grease, you can maintain your roof and enjoy your travels without worry. Remember, regular maintenance is key to preventing serious damage, so keep an eye on your roof and tackle repairs as soon as they arise. Safe travels and happy camping!
By keeping this guide handy, you ensure that your home on wheels remains as robust as your spirit of adventure. Now, let’s hit the road with confidence, knowing our roofs are secure and our adventures await!