
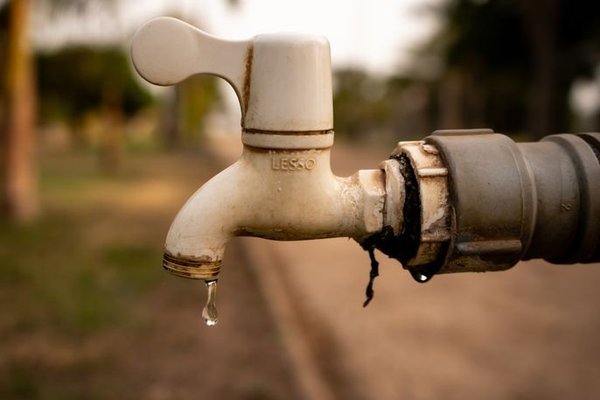
A faucet that drips every few seconds does not always need replacement. In many cases, the leak comes from one small worn part inside the handle assembly: a washer, O-ring, valve seat, or cartridge. Replacing that part is cheaper and less wasteful than installing a new fixture, and it is often a realistic DIY job if you work slowly and keep track of the parts you remove.
The first step is to identify the leak. A faucet that drips from the spout needs a different repair from one that leaks around the handle or underneath the sink. The process below covers common household faucets and a repair-first approach that can help you stop a faucet leak without replacing the fixture.
Identify where the faucet is leaking
Dry the faucet and sink area, then watch closely. If water keeps dripping from the spout after the handles are fully closed, the problem is usually inside the valve mechanism. On a compression faucet, a worn rubber washer is a common cause. On many modern faucets, the cartridge may be worn or damaged.
If water appears around the handle only while the faucet is running, an O-ring or cartridge seal may be responsible. If you find moisture in the cabinet below, inspect the supply-line connections and faucet body before taking the handle apart. A dripping faucet repair should begin with the actual leak point, not a guess.
Gather basic tools and protect the sink
You will commonly need an adjustable wrench, Phillips and flat-head screwdrivers, an Allen key for some handle styles, a small towel, and a container for screws and small parts. Needle-nose pliers can help with retaining clips.
Place a towel in the basin and cover the drain before you begin. This prevents a tiny screw, clip, or washer from disappearing down the drain and protects the sink surface if a tool slips.
Shut off the water before disassembly
Look under the sink for the hot and cold shutoff valves. Turn them clockwise until closed, but do not force a stuck valve. Open the faucet afterward to release trapped pressure and confirm the supply is off. If the local shutoff valves do not work, shut off the home’s main water supply before continuing.
Remove the handle carefully
Some handles have a visible screw under a decorative cap. Others use a small set screw on the side or underside. Remove the cap gently, loosen the screw, and lift the handle off.
If the handle is stuck, avoid aggressive prying. Mineral deposits can make parts feel glued together. Gentle rocking and the correct method for your faucet model are safer than forcing the handle and damaging the finish or valve.
Match the repair to the faucet mechanism
Compression faucets and washer repair
Compression faucets usually have separate hot and cold handles and use a stem that presses a rubber washer against a valve seat. If the washer is flattened, split, hardened, or misshapen, faucet washer repair may solve the drip. Remove the stem, replace the washer with one of the same size and shape, and inspect the valve seat for obvious roughness or heavy corrosion.
Do not use the closest-looking washer from a mixed pack. A washer that is too small, too thick, or intended for a different stem can create another leak or make the handle feel wrong.
Cartridge faucets
Many modern faucets use a removable cartridge to control water flow. If it is worn, replacing it can stop dripping from the spout or leaking around the handle. For a faucet cartridge replacement, note the cartridge’s orientation and any retaining clip, bonnet nut, or locking ring before removal.
Take the old cartridge to a plumbing supplier or match its exact model number. Cartridges that look similar are not always interchangeable. If lubrication is required, use a plumbing-safe product recommended for the fixture, such as silicone plumber’s grease where appropriate.
Clean the area and install the replacement
Once the worn component is removed, wipe away loose sediment and mineral buildup from accessible surfaces. Do not scrape sealing surfaces with a screwdriver or another sharp metal tool, because damage to a seat or cartridge bore can keep the faucet leaking even after a new part is fitted.
For example, if a two-handle kitchen faucet drips from the spout and shutting off the cold supply makes no difference, but shutting off the hot supply stops the drip, the hot-side stem or cartridge is the logical place to inspect first. That simple test can save you from dismantling both sides unnecessarily.
Reassemble and test the faucet
Reinstall the cartridge, stem, washer, clip, bonnet, and handle in the same order they were removed. Tighten parts firmly enough to seal, but avoid overtightening. Too much force can damage plastic cartridges, deform washers, or strip threads.
With the faucet off, slowly reopen the shutoff valves. Check around the handle, spout, faucet base, and supply connections. Run both hot and cold water briefly, then close the faucet again. A small amount of residual water may leave the spout, but a recurring drip means the repair needs another look.
Related topics that fit naturally with this job include fixing a leaking sink connection, basic plumbing DIY, and preventing household water leaks.
When to call a plumber
DIY repair makes sense when the shutoff valves work, the faucet can be disassembled without damage, and the correct replacement parts are available. Call a plumber if the faucet body is cracked, the valve seat is badly damaged, shutoff valves will not close, fittings are heavily corroded, or water appears to be leaking from inside the wall or cabinet rather than the faucet itself.
Frequently asked questions
Can I fix a leaky faucet without replacing it?
Yes. Many leaks are caused by replaceable internal parts such as washers, O-rings, stems, or cartridges. If the faucet body is sound and the correct part is available, the fixture can often stay in place.
Why does my faucet still drip after I replace the washer?
The replacement washer may be the wrong size, the valve seat may be worn, the stem may be damaged, or the leak may come from another component. Recheck the parts and confirm the leak is really coming from the spout.
How do I know whether my faucet uses a cartridge?
Many single-handle and newer two-handle faucets use cartridges, but designs vary. Removing the handle usually reveals the valve mechanism. The safest identification method is to use the faucet brand and model or match the removed part exactly.
Should I replace both cartridges if only one side leaks?
Not necessarily. If you can clearly identify the leaking side, replacing only the failed cartridge is often enough. If both are the same age and showing wear, replacing both during the same repair may be convenient.
A focused repair can extend the faucet’s life
Learning how to fix a leaky faucet is mostly about careful diagnosis. Shut off the water, identify the valve type, replace the worn component with an exact match, and reassemble the fixture without overtightening. When the faucet body is still in good condition, that focused repair can restore normal operation and avoid the cost and disruption of replacing the entire fixture.