
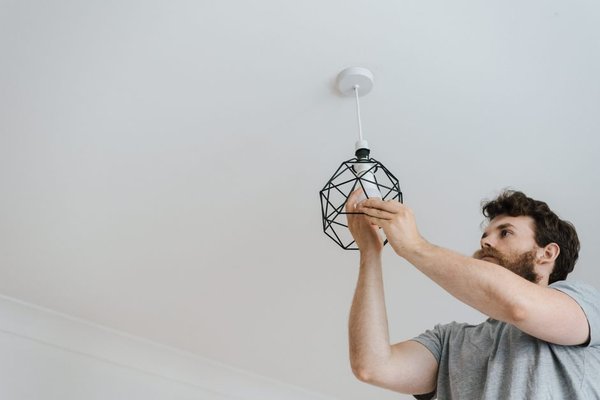
Replacing a basic ceiling or wall light can transform a room, but the job is not just about matching wire colors and tightening screws. A safe light fixture replacement starts with controlling the electrical hazard, understanding the existing wiring, and knowing when the job is no longer a simple swap. If anything looks damaged, unfamiliar, or inconsistent with the new fixture’s instructions, stop and call a licensed electrician.
Make Sure This Is a Simple Replacement
This guide is for replacing an existing hardwired fixture with a compatible fixture in the same location. It assumes the electrical box is already installed and the circuit is working normally. Electrical safety guidance recommends switching off the circuit at the service panel and testing wires before touching them. If you cannot confidently verify that the wiring is de-energized, do not continue.
Read the new fixture’s instructions before removing the old one. Confirm that the fixture is suitable for the location, especially in bathrooms, covered outdoor areas, or other damp spaces. If the new light is much heavier than the old one, or the existing box is loose, cracked, or badly corroded, the mounting point may need professional correction.
Prepare Your Tools and Work Area
For a typical electrical fixture install, you may need a sturdy stepladder, screwdrivers, wire strippers, approved wire connectors, a voltage tester, and the mounting hardware supplied with the fixture. A battery-powered work light is useful because the room circuit will be off. Keep children and pets away, and position the ladder so you can work without stretching sideways.
Unpack the fixture first and identify its mounting bracket, canopy, screws, ground connection, and conductors. Understanding the parts before you are standing on a ladder makes the installation much easier.
Shut Off the Circuit and Verify Power Is Off
Turn the light on, then switch off the correct breaker at the service panel. Do not rely on the wall switch alone because it may not isolate every conductor in the box. Confirm that the light no longer operates.
Next, test for voltage before touching bare conductors or terminals. Use a suitable tester according to its manufacturer’s instructions, and confirm the tester works on a known live source before relying on it. If readings are unexpected, more than one circuit appears to enter the box, or you cannot confidently identify the wiring, stop the project.
Remove the Old Fixture Carefully
Support the old fixture while removing its cover and mounting screws. Never let it hang from the wires. Once the connections are visible, take a clear photo before disconnecting anything. That photo can be extremely helpful if the wiring arrangement is more complicated than expected.
Disconnect one connection at a time. In many modern U.S. installations, black or red may be used for an ungrounded conductor, white for neutral, and bare copper or green for grounding, but colors are not proof. Older wiring, switch loops, previous repairs, and alterations can make assumptions unsafe. Verified testing and the fixture manufacturer’s instructions matter more than a generic color chart.
Inspect the Box and Existing Wiring
Before you install a ceiling light or wall fixture, inspect what the old fixture was hiding. The electrical box should be firmly mounted, and wire insulation should be intact. Scorching, melted or brittle insulation, loose splices, a history of buzzing, repeated breaker trips, or unfamiliar aluminum branch-circuit wiring are reasons to stop and get professional help.
For example, if you remove a lightweight flush-mount fixture and discover the box moves when you touch it, do not simply tighten the new canopy until the wobble disappears. The fixture needs sound mechanical support. Hiding a loose box behind the new light only conceals the problem.
Mount and Connect the New Fixture
Install the supplied mounting bracket to the electrical box exactly as directed by the manufacturer. Make sure it is secure before making final connections. If the fixture has a grounding conductor or grounding screw, connect it as instructed and maintain the existing equipment grounding path.
Connect the fixture conductors to the corresponding circuit conductors based on the verified wiring arrangement and the manufacturer’s diagram. Use connectors suitable for the conductor type, size, and number of wires being joined. Connections should be secure with no exposed bare conductor outside the connector.
If the new fixture wiring does not clearly correspond with the existing wiring, do not improvise. Extra conductors, multiple switched wires, unusual colors, missing grounding provisions, or wiring that differs from your original photo are signs that the job may require an electrician.
Secure the Fixture and Test It
Carefully fold the connected conductors into the box without sharply pinching them. Lift the fixture into position and secure it to the bracket. Install shades, lamps, or covers according to the instructions, using bulbs that meet the fixture’s stated type and maximum rating.
Clear the work area, step down from the ladder, and restore the breaker. Operate the wall switch and observe the fixture. If the breaker trips, the light flickers abnormally, you smell hot insulation, hear buzzing, see sparking, or the fixture becomes unusually hot, switch the circuit off and have the installation checked.
Know When to Call an Electrician
A basic change light fixture project should stay basic. Call a licensed electrician when wiring is damaged or unidentified, the box is loose or unsuitable, there is evidence of overheating, the circuit repeatedly trips, or the replacement requires new cable, a new box, or circuit changes. Local rules may also limit what homeowners can legally perform.
Related internal topics worth exploring include lighting layout and fixture selection, choosing bulbs for different rooms, and planning safer DIY home upgrades.
Frequently Asked Questions
Can I replace a light fixture without turning off the breaker?
No. Turn off the circuit at the service panel and verify that the wiring is de-energized before touching conductors. A wall switch alone is not an adequate safety measure.
Can I connect wires only by matching colors?
No. Colors can provide clues but are not proof of conductor function. Existing wiring may have been modified or may follow older practices. Verify the circuit and follow the fixture manufacturer’s instructions.
Do I always need a new electrical box?
No. A sound, securely mounted existing box may be suitable for a compatible replacement. If the box is damaged, loose, undersized for the conductors, or unsuitable for the fixture’s support requirements, it should be corrected before installation.
Why did the breaker trip after installation?
A trip can indicate a wiring fault, short circuit, damaged conductor, or another circuit problem. Leave the breaker off and have the installation checked if you cannot identify and correct the cause safely.
A Safe Finish Matters More Than a Fast One
Learning how to replace a light fixture is mostly about disciplined sequencing: isolate the circuit, verify it is dead, document the old connections, inspect the hidden wiring and box, mount the new fixture securely, connect it according to verified wiring and manufacturer instructions, then test from a safe position. Taking a few extra minutes at each stage is better than rushing an electrical job that should have been stopped and referred to a professional.